visitors asked me for a photoshop tutorial showing how I did the rocks in the realistic alien water scene were made.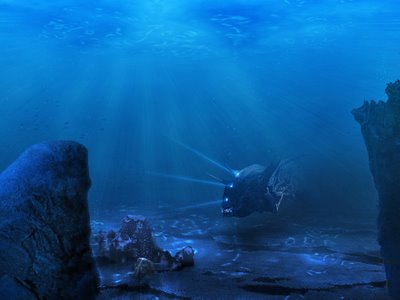 Here goes...
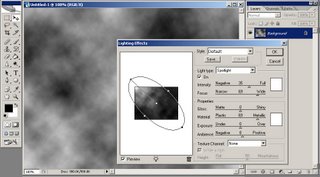
Open a new document, mine is 640x480 px then go to the Filter menu and choose Render > Difference Clouds.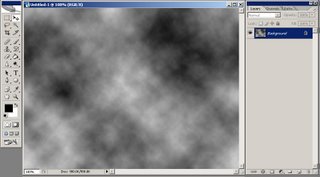 Now go to Filter > Render > Lighting Effects and select your light (spotlight) to come from top-left corner of your image, leaving all the other settings intact, like you see in my image below:
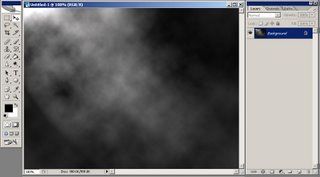
 Your result should be similar to this:
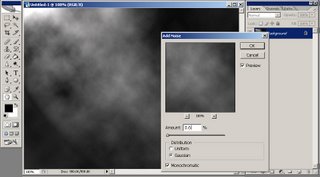
 Then go to Filter > Noise > Add Noise and set the Amount to 0.6%, Distribution to Gaussian and check Monochromatic.
 Apply a Bas relief filter (from Filter > Sketch > Bas Relief) with the following values: Detail: 15, Smoothness: 2, Light: Top.
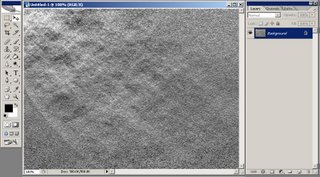 Now duplicate your background layer (go to Layer > Duplicate Layer...) and then aplly a Craquelure filter (Filter > Texture > Craquelure) with the following values: Crack Spacing:80, Crack Depth:4, Crack Brightness:5.
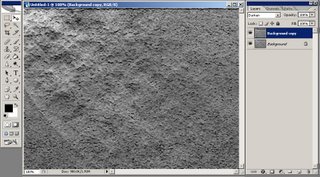 Using the Lasso Tool make a selection like you want your rock to look like. Flatten your image (go to Layer > Flatten Image) and copy from the new layer created.
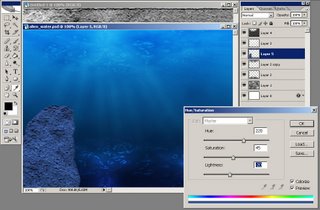
Open the image you want to blend your rock into. Paste the rock into a new layer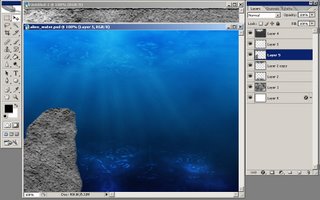 then press CTRL+U in order to modify the Hue/Saturation: check Colorize then use the following values Hue:220, Saturation:45, Lightness:-20.
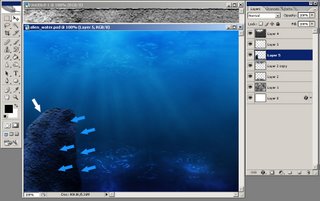
 Now you must darken some parts of your rock and lighten others. I darkened the right part of my rock using the Burn Tool and lightened the upper part using the Dodge Tool (on the next image you have blue arrows to show you where I've used the Burn Tool and a White arrow to show you where I've used the Dodge Tool).
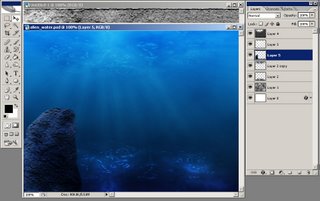
 Using the Burn Tool with a small brush selected make more cracks into our rock.
 Hope you liked this photoshop tutorial. Thank you!
I will be back with many more, until then check out some of my other photoshop tutorials:
 Here goes...
Open a new document, mine is 640x480 px then go to the Filter menu and choose Render > Difference Clouds.
 Now go to Filter > Render > Lighting Effects and select your light (spotlight) to come from top-left corner of your image, leaving all the other settings intact, like you see in my image below:
 Your result should be similar to this:
 Then go to Filter > Noise > Add Noise and set the Amount to 0.6%, Distribution to Gaussian and check Monochromatic.
 Apply a Bas relief filter (from Filter > Sketch > Bas Relief) with the following values: Detail: 15, Smoothness: 2, Light: Top.
 Now duplicate your background layer (go to Layer > Duplicate Layer...) and then aplly a Craquelure filter (Filter > Texture > Craquelure) with the following values: Crack Spacing:80, Crack Depth:4, Crack Brightness:5.
 Using the Lasso Tool make a selection like you want your rock to look like. Flatten your image (go to Layer > Flatten Image) and copy from the new layer created.
Open the image you want to blend your rock into. Paste the rock into a new layer
 then press CTRL+U in order to modify the Hue/Saturation: check Colorize then use the following values Hue:220, Saturation:45, Lightness:-20.
 Now you must darken some parts of your rock and lighten others. I darkened the right part of my rock using the Burn Tool and lightened the upper part using the Dodge Tool (on the next image you have blue arrows to show you where I've used the Burn Tool and a White arrow to show you where I've used the Dodge Tool).
 Using the Burn Tool with a small brush selected make more cracks into our rock.
 Hope you liked this photoshop tutorial. Thank you!
I will be back with many more, until then check out some of my other photoshop tutorials: